It’s been a long time since my last update! There were two fun trips in the interim (Veracruz Carnaval and Calakmul), and I have done some work since then.
There was quite a bit of detail work. If I just have to insert a few tiles it isn’t worth mixing up a batch of cement, so I’m using the No Mas Clavos adhesive again. GREAT stuff! But would cost a fortune to do the whole wall that way.
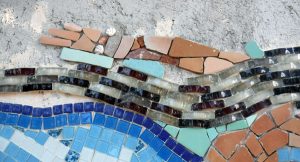 Several people commented that her right arm (that extends backwards under her hair) looked too short. I agonized over this for a while and decided they were right. You can see a couple of tiles just to the right of her shell bracelet; that extra two inches makes a big difference.
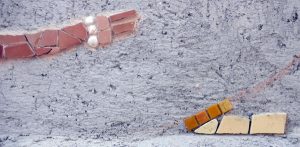
I got a birthday gift–a box of golden-orange square glass tiles left over from a remodeling project. It occurred to me that they might make a nice edging for the sand sea-bottom area, so I’ve placed just a few of them onto the wall to get an idea how it might look.
But the big addition today is ocean tile. A few days ago, I found tiles to fit right around her tail and taped those on the wall (meaning–no racing against time as the cement sets in the bucket).
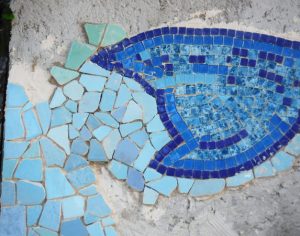 Then today, I mixed up cement and attached all of those to the wall around her tail. And then–the big unknown–I had to find tiles to fill in the gap between that “outline” row and what was already on the wall, where I’ve been working in from the edges.
You can see the results here. That “end of the tail” area is about the most complicated on the whole wall, and it required a lot of small tiles to make things fit.
I think that works. But I’ve also discovered that I have nowhere near enough blue tile, unless there’s more buried in boxes that I forgot about or filtered out in my first sorting (a year ago!). If I don’t find any more blue, I may have to put out a request to the local Facebook group to see if anyone has any unused ones lying around.
So here she is, as of the end of the day:

Next page: 18 March–Every Tile Counts!

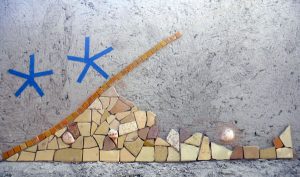 I laid in the beach/ground tile all the way out to the end! That vertical tile marks the far right edge of the entire work. Lots to fill in, but it’s nice to have that marker in place.


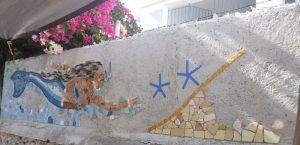

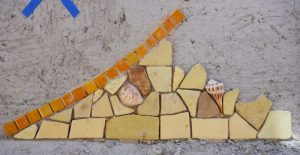
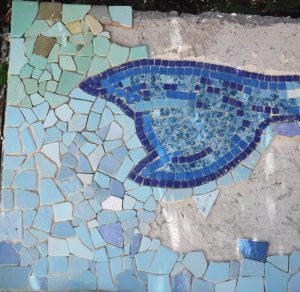 A lot more around the tailfin! Being down on the blue I’m focusing on the green. One thing that slows me down and makes this take longer, is I’m working on the top of the wall, so I have to go all the way up and down the stepstool, usually at least three times (often more) for each tile. Since breaking my leg three years ago taking just that many steps off a ladder, I do this very carefully each time. It’s tiring.
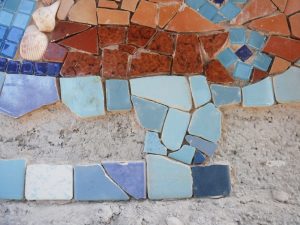 Finally, here’s a detail of that one small area under her body, connecting her waist to the bottom of the wall. I end up using a lot of small tiles (and doing quite a bit of nipping and grinding) to make these fit.
 Every piece of blue masking tape that you see is holding up one or more tiles, which I’ve selected to fit (and hopefully look good in) the space–there’s a total of about 40 up there.
 Several people commented that her right arm (that extends backwards under her hair) looked too short. I agonized over this for a while and decided they were right. You can see a couple of tiles just to the right of her shell bracelet; that extra two inches makes a big difference.
 Then today, I mixed up cement and attached all of those to the wall around her tail. And then–the big unknown–I had to find tiles to fill in the gap between that “outline” row and what was already on the wall, where I’ve been working in from the edges.
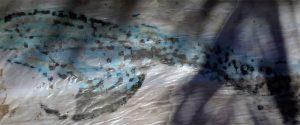
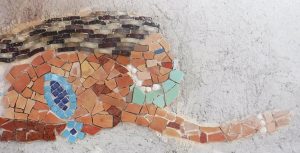
 You can see that bit of blue masking tape at the top center of the picture; that is about where her hand will be. So there is very little arm that will show from behind her hair.
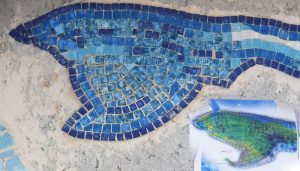 The inset at the lower right is from the original Web photo, and it’s easy to see the different shape. Still, I think the fin looks good, and the curved placement of the tiles gives the right feeling for the shape of the fin.
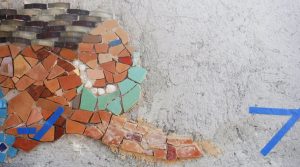 Had some adhesive left over, so I went to work on her right arm. The “V” of masking tape in the photo shows the spot on the wall that I’ll aim to finish with her fingers.
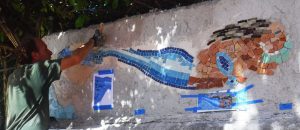 This morning was my first shot at the tailfin, by far the most complex part of the tail. Although the top third is mostly just some more rows of tiles, the rest is a mass of curves and angled or shaped tiles.
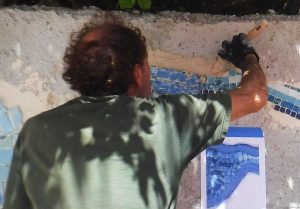 I’m not even using the big rectangular notched trowel for this; I don’t know exactly where the tiles are going so I’d waste too much. So I’m using the small one; just trying to make sure I get enough on.
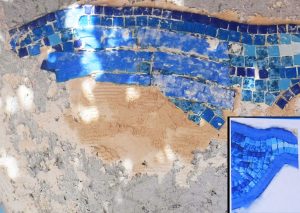
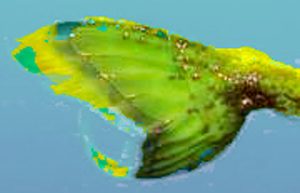
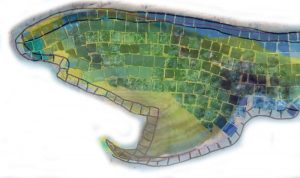 Some Photoshop time to get a better feel for how this is supposed to look. Superimposed the tailfin from the original Website image on to the tiles already on the wall, and then drew in where the outside wall of small dark blue tiles should be.