
I think we are finally done with the rain delays! Today was threatening but ended up just cloudy and windy; later the sun came out and it was a beautiful afternoon for working on La Sirena.
You’ve not seen her face yet! In the last photo from a few days ago, the brown paper still covered her.
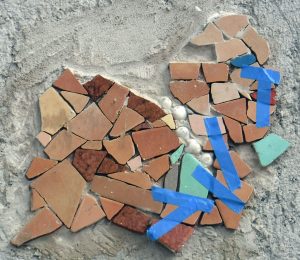
The blue masking tape is holdingup pieces that did not quite stick. I went back later and used No Mas Clavos glue (in the USA this would be very similar to the stuff called Liquid Nails) to put those up more securely.
 I also put up the second batch of tiles that were glued to the squares of brown paper. I would say about 70% of them stuck, excluding all of the blue glass tiles. Fortunately, it was pretty easy to just put those in logically using the No Mas Clavos.
 And that is how she stayed for the last couple of days, until this afternoon. I mixed up a batch of this adhesive, which is supposed to be good for all kinds of tile, including glass.
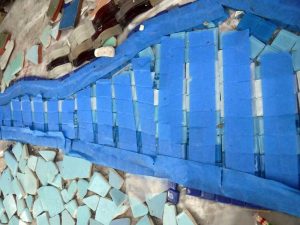 I was working fast to use this stuff. You may remember how I had to pull all the glass tiles off the table because they had stuck to it, put waxed paper under them and stuck masking tape on top to hold them in strips.
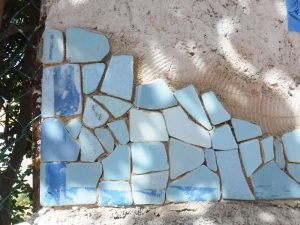
IT WORKED. I went strip by strip, troweling the adhesive on the wall, picking up each tape strip and pressing it into the adhesive. I’m sorry I don’t have photos of that process (will try to get some next time), but here’s what we have now, at the end of the day!
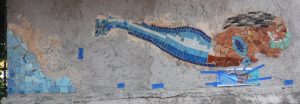
Nearly the whole tail is done, although the fin may be tricky. I added more hair as well as some blue sea tile at the left, mainly just to use up the adhesive. (I mixed a bit too much.)
She’s still disarmed; the arms will extend forward and back, behind her hair.
So, all good! Now if I only knew if all those glass tiles are actually going to STAY UP. Time will tell on that one.
NEXT PAGE: February 1–The Fin
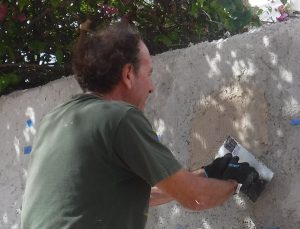 I’ve mixed a wild-guess amount; about what I saw Reynaldo mix up the other day. Then spread it on the wall using the big rectangular notched trowel.
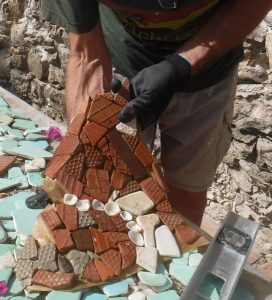 Here she is; ready to go up. I’ve sprayed the back of the tile lightly with water, and just hope the whole thing doesn’t fall apart as I lift it up.
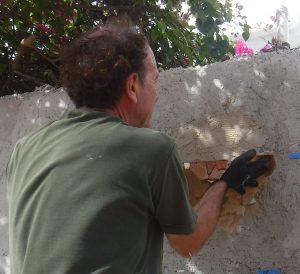 Here we go; kind of unfolding the floppy tiled paper up onto the wall.
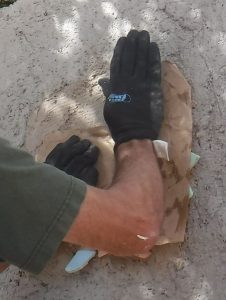 Pushing, pressing, slamming… whatever you want to call it, just trying to get the tile to adhere to the cement pegamento.
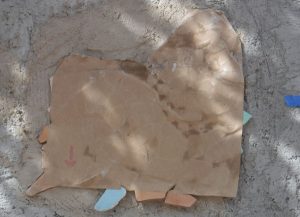 And there it is! Somewhere under there is La Sirena’s face, neck, and part of her upper body.
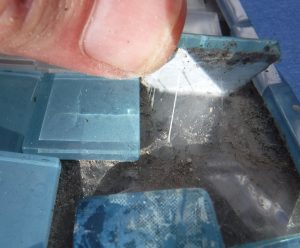 Unfortunately, some of the adhesive stayed on the back of those tiles, and now they are all stuck tightly to the clear plastic sheet that I covered the table with. (Also underneath that sheet is the big paper printed blowup of the design; I’ll show that to you once it’s visible again.)
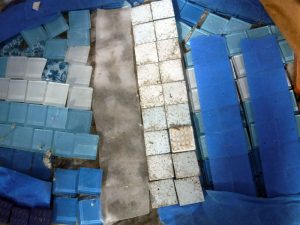 So today I started the tedious process of peeling off every tile (sometimes with my thumb, sometimes it takes a chisel). I’m doing this in pairs of rows, and then covering them with a strip of masking tape to keep them aligned. After that, I’m laying down a little strip of waxed paper, which will hopefully keep them from sticking down again!
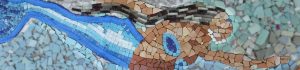
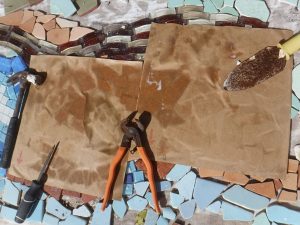
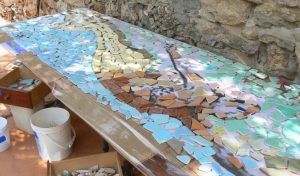
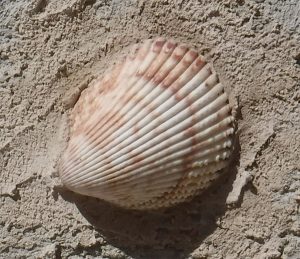 We’ve got a pile of shells what we want to work into the “rising sand ocean floor” on the right side of the mosaic, so Reynaldo showed me how to stick one up. It’s the ONLY thing over there and will probably be lonely for quite a while.
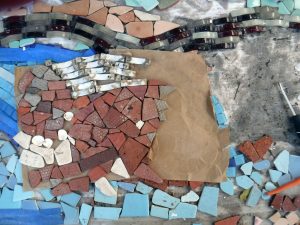 Just a few tiles and shells didn’t come over, and it will be very easy to know where they go. In this photo you can see the back of the tiles (her face faces to the left), and the empty area on the right where the tiles used to be.
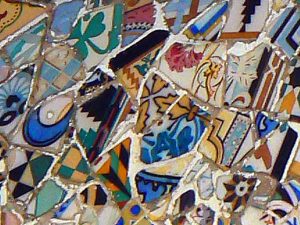 This photo is a tiny detail of a 100-meter-long curbed concrete bench at the Parc Güell, but there is mosaic everywhere in Barcelona.
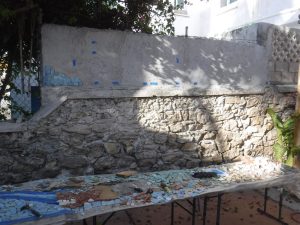 The long thin shape of the cinder-block wall suggested a horizontal swimming mermaid, and we had a LOT of pastel blue and green tile to work with! So I went searching the Web for possibly useful images. (There are thousands of mermaid photos and drawings on the Web, so this was NOT hard.)
 I started work in May 2017, and that approach gave this result. But the tail was just too flat, and the coral was impossible to make detailed enough to look good. (Remembering that I’ve never done a mosaic before, and we’re trying to make the design match the tile, not the other way around.)
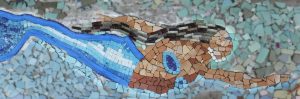 And this is about how she stayed for the entire rest of 2017, as house project, travel and much more came first. La Sirena lay out on the three tables in the backyard covered in black plastic until the new year.