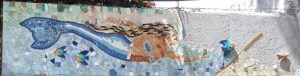
Whoa! This morning I had the idea of putting something other than just tile in the large area under the bend in her tail. It’s a LOT of blue, and with the tail being blue already… you get the idea.
The obvious idea was a fish, but that would be hard to make with the broken beach tile. But–Great Idea–that kind of ceramic painted wall decoration is sold all over the place here in Progreso (we are a cruise ship port after all).
It did not take a lot of shopping to come up with a set of three ceramic painted angelfish (for about US$12), so we brought those home and tried them in different positions.
The two smaller ones looked the best in the under-tail area. They fit in there nicely and they swim in the opposite direction from La Sirena. (Detail photo below.)
But what to do with the third and largest one? It took about a minute to decide to replace two starfish with the third angelfish, move one starfish to the beach area and just lose the second one. The starfish should not have been out there swimming anyway, and the new fish gives Sirena a friend she’s following. That area now looks like this:
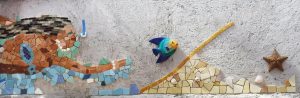
At this moment in the midafternoon, you can see the three fish, the starfish, and a bunch of taped up tile that will finally completely enclose the area under the center of her body. (That was actually the goal for today before all this other stuff started.) I’ll go back out there when I’ve got some shade again.

AND LATER THAT SAME DAY:
Blue tape is off and a lot more tile in place…

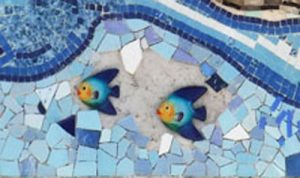 … including some right around the two small fish. Compare this photo with that very first one at the top of the post.
MARCH 30–Just a couple of photos to add; not worth a whole new page…
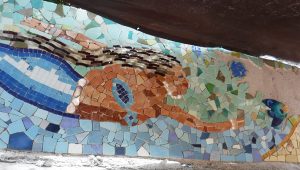
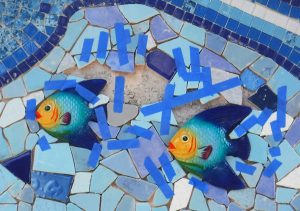 Taped up a lot more tiles along the bottom border and primarily in that under-tail area around the two fish. Here’s what that looks like now:
Not much gray concrete showing anymore! Hope to cement all of these in tomorrow.
And now she looks like this:

You can see quite a bit more area filled in under her upper body and arm, too.
Next page: April 2–Under-tail done at last


 Here’s the closeup view. You can see there really is a very small space left to fill in with green.
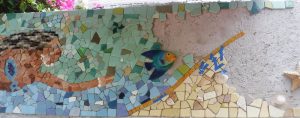 Light at the end of the tunnel?
 So the last several days have been the same slow process of finding a tile that almost fits a place, chipping and grinding it, and taping it up. Then once a day, mixing up the cement and sticking them all on the wall. The above photo is the recent work as of 12 Noon today–notice that the entire area above her is now completely filled in!
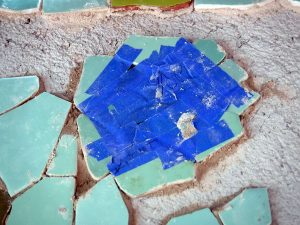 After taping it all together so it could be handled as one piece (just as I did five months ago with Sirena’s body), I cemented it in place as you see here.
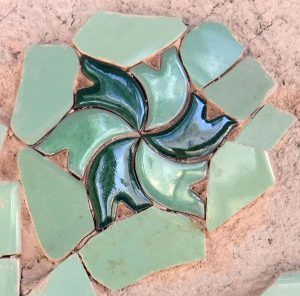 The tape is off and you can see the pattern!
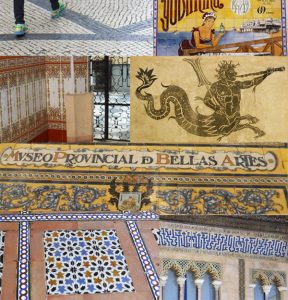 Back from five weeks in Europe, and there’s some pretty inspirational tile work out there. Portugal in particular is very well known for paving its pedestrian walks and plazas with black and white mosaic tiles, and the Andalusian cities of Cordoba and Sevilla have tile walls and decoration literally every place you look.
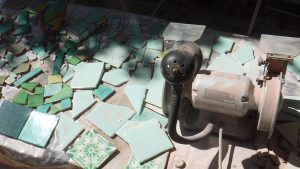 Returning home the first issue to deal with was the same one that existed in April: the lack of enough pale green tiles. So I put a request out on our local expats Facebook group. Unlike my try several months ago (it was blue tile that time), I got several responses! It took a few trips out to the other beach towns, climbing around construction sites or combing piles on the playa, but I now should have more than enough to get this project finished.
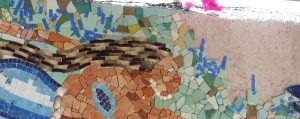 Today was my first day back at work on La Sirena, and the result is here. I’ve selected, cut, grinded (ground?) and taped up about 50 pieces to be cemented on the wall tomorrow morning.
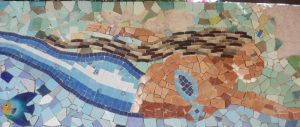 Let’s start off focusing on the bulk of the work of the past several days.
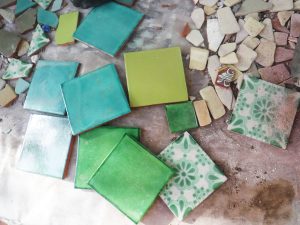 I broke down and bought some tiles at the Mexican-style tile store in Merida. There are several colors here, and I bought one pattern that you can see in the photo. Notice that none of these are soft pastels; Mexican tile is known for its bright colors!
 So now the question: is there so much color up there that Sirena is getting lost? Lots of colors; lots of small tiles in a multitude of shapes. Hopefully when it’s all cleaned up and grouted it will all be fine.

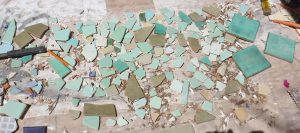 You can see all the area still to be filled in out front of her to where the beach rises. But here on the table is ALL the green I have left.
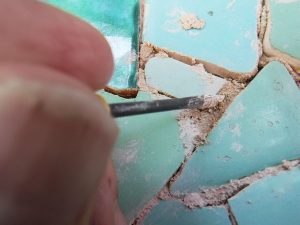 I realized I’ve never posted a photo of one very tedious part of this process. Practically every single tile has excess cement that has oozed out the edges, and we don’t want any of that to show; there always has to be enough depth for the grout to fill up.
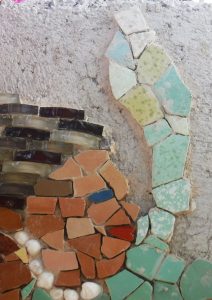 I did have some special fun this afternoon.
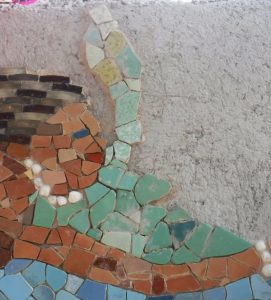 I did some work in the area above her arm too. That’s filling in pretty nicely.
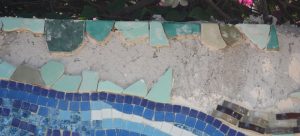 The other task today was continuing to do the top row. This time I was smarter; rather than go up and down the ladder trying to fit each tile, I laid out about a dozen of them on the table first, and then cemented them up all at once. (That ONLY works for something like this top row, where I only have to match each tile to the ones on each end.)
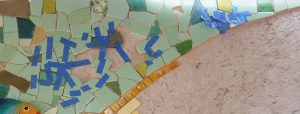
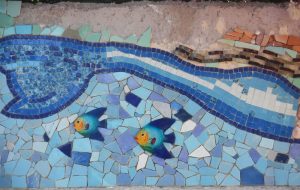 That whole big blue area under the curve in her tail is finally done. Seems like forever since I started that!
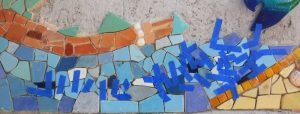 SO now the only blue left is way out on the right side! Lots of cutting, grinding and blue tape today.